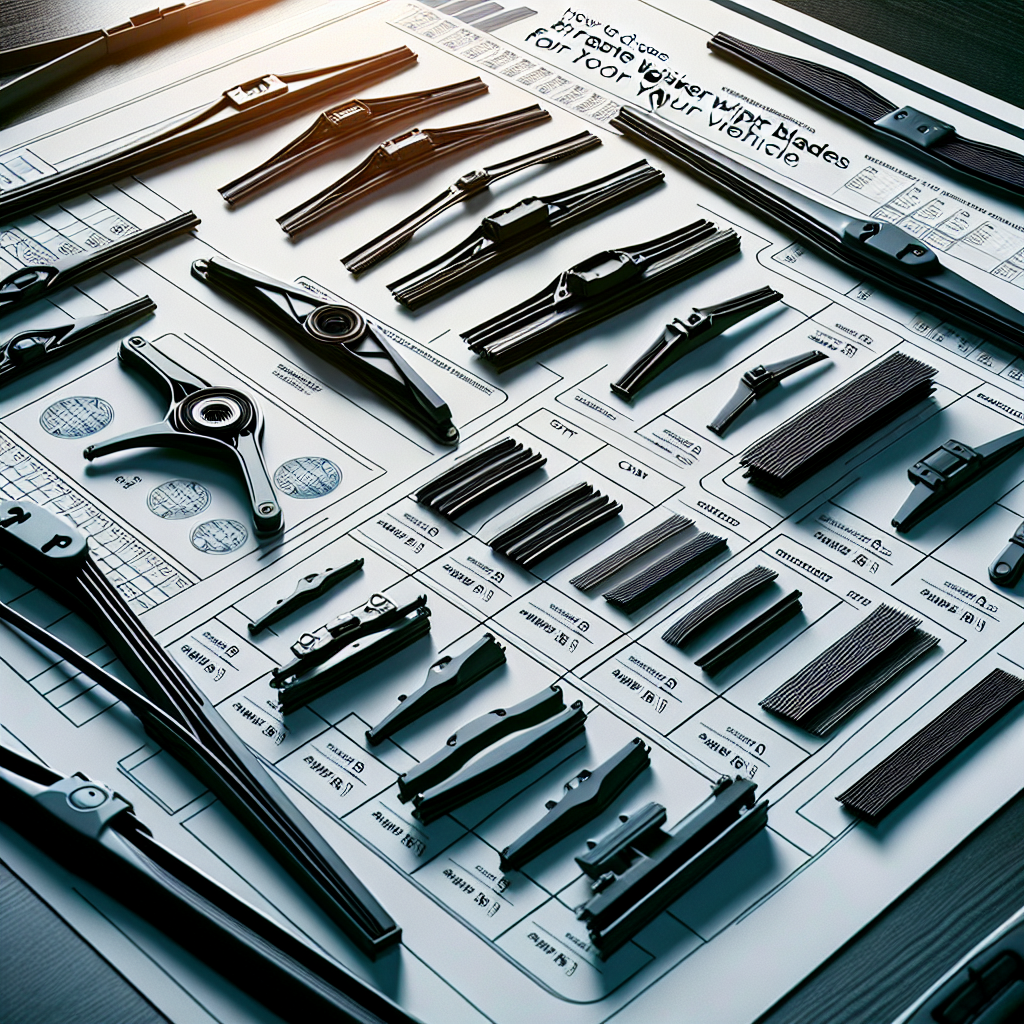
Are you a car enthusiast or a weekend warrior who loves the idea of working on your own vehicle? Whether you’re trying to save money or just enjoy the satisfaction of a job well done, doing it yourself (DIY) when it comes to auto parts can be incredibly rewarding. At MissingGear.com, we understand the importance of finding the right parts and having the correct information for a successful DIY project. To aid you on this journey, here’s a detailed guide on approaching DIY auto part installation effectively and safely.
Understanding Your Vehicle
Before diving into any installation, it’s crucial to have a solid understanding of your vehicle’s make, model, and year. Different vehicles often require specific parts and have unique installation requirements. Ensure you have your vehicle’s manual on hand as it can provide valuable insights and specifications. In some cases, manufacturers also offer digital manuals that can be downloaded from their official websites.
Research and Preparation
1. Identify the Right Parts:
Selecting the correct parts for your specific vehicle model can be the difference between a smooth install and hours of frustration. At MissingGear.com, our user-friendly interface allows you to filter parts by your vehicle’s specifications, ensuring you get exactly what you need.
2. Gather Tools and Supplies:
Assembling the necessary tools beforehand can make your installation process much smoother. Common tools you may need include wrenches, screwdrivers, pliers, a jack, and stands. Don’t forget safety gear such as gloves and eye protection.
3. Watch Tutorials:
There are numerous online tutorials that can visually guide you through the installation process. Websites like YouTube host a plethora of step-by-step guides created by both professionals and fellow DIYers. These resources can provide visual context that makes the process easier to understand.
Step-by-Step Installation
Let’s focus on a common DIY task: replacing brake pads.
-
- Safety First:
Ensure your vehicle is parked on a flat surface and the parking brake is engaged. Secure the vehicle with jack stands to prevent any movement while you’re working.
- Safety First:
-
- Remove the Wheel:
Loosen the lug nuts with a wrench before lifting the car with a jack. Once lifted, fully remove the lug nuts and carefully take off the wheel.
- Remove the Wheel:
-
- Access the Brake Caliper:
Locate the brake caliper and unscrew the bolts securing it. Gently remove the caliper from the rotor but avoid letting it dangle by the brake line.
- Access the Brake Caliper:
-
- Remove the Old Brake Pads:
Slide the old brake pads out of the caliper bracket. Be mindful of the clips holding the pads in place, as these will need to be reused or replaced depending on your new brake pads.
- Remove the Old Brake Pads:
-
- Install New Brake Pads:
Apply anti-squeal paste to the back of the new pads if recommended. Place the new pads into the caliper bracket, ensuring they align correctly with the clips.
- Install New Brake Pads:
-
- Reassemble the Brake Caliper:
Position the brake caliper back over the new pads and rotor. Secure it with the bolts you previously removed.
- Reassemble the Brake Caliper:
-
- Reattach the Wheel:
Align the wheel and hand-tighten the lug nuts. Lower the vehicle and then fully tighten the lug nuts in a star pattern to ensure even pressure.
- Reattach the Wheel:
-
- Test Your Work:
Before taking your car out for a drive, pump the brakes while the vehicle is stationary to ensure the pads are properly seated.
- Test Your Work:
Final Thoughts
Performing your own auto part installations can be both fun and economical. By following detailed steps and having the right tools, you can tackle many repairs and installations yourself. Remember, if you encounter a particularly tricky task, don’t hesitate to consult professional help or refer to reputable online resources like AutoZone’s Repair Help which can provide additional guidance.
At MissingGear.com, we’re committed to supporting your DIY ventures by offering high-quality auto parts and detailed information to ensure successful installations. Happy wrenching!


