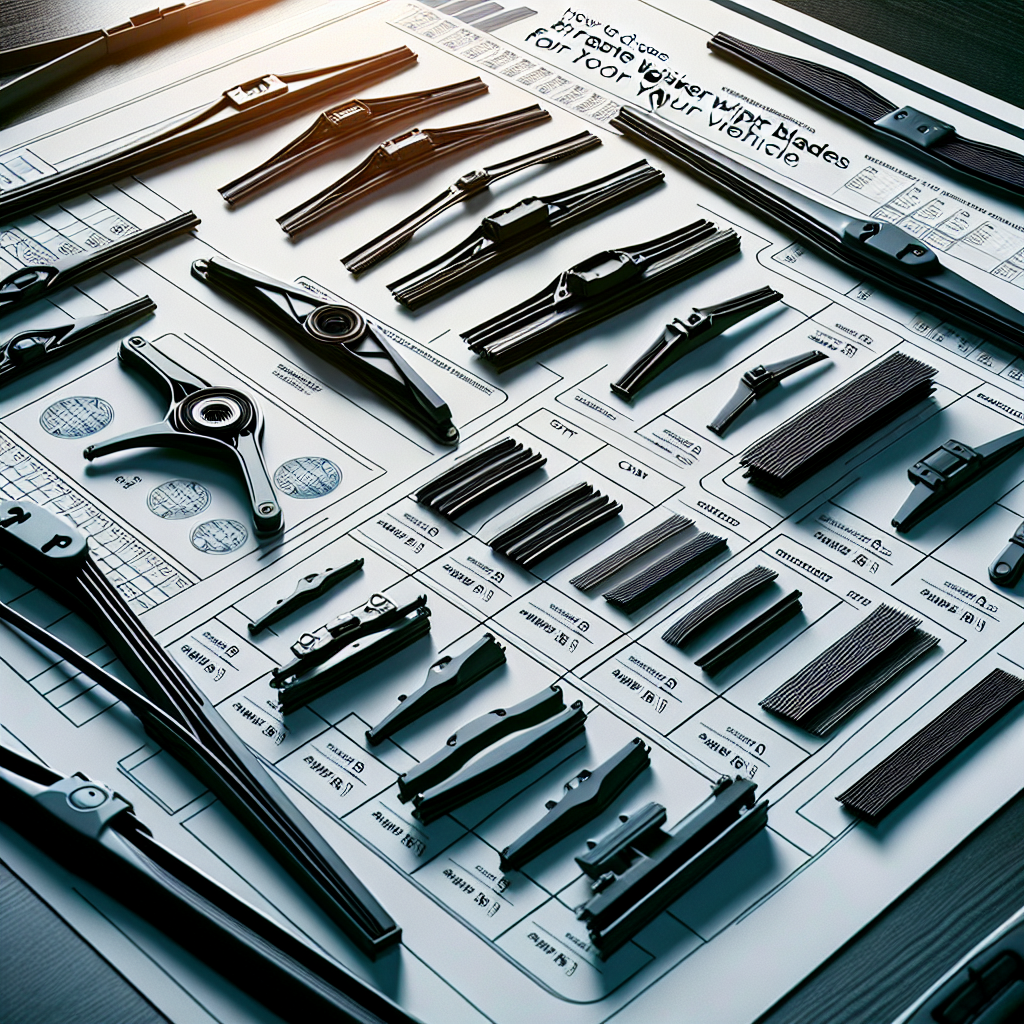
Replacing wiper blades is an essential yet often overlooked aspect of vehicle maintenance. Functional wiper blades are crucial for clear visibility during adverse weather conditions and can significantly enhance your driving safety. The good news is that replacing your wiper blades is a straightforward task that you can easily handle yourself, saving you both time and money. Follow this step-by-step guide to learn how to replace your wiper blades in minutes.
Materials You Will Need:
-
- New wiper blades (ensure they are the correct size for your vehicle)
-
- A screwdriver (if required by your vehicle’s wiper blade design)
-
- Clean cloth or rag
Step 1: Determine the Correct Blade Size
Before you start, it’s essential to identify the correct wiper blade size for your vehicle. Most auto parts stores, including AutoZone, have online resources where you can input your vehicle’s make, model, and year to find the appropriate wiper blade size.
Step 2: Lift the Wiper Arm
Gently pull the wiper arm away from the windshield until it locks in an upright position. Be cautious as the arm is spring-loaded and can snap back onto the glass, potentially causing damage.
Step 3: Remove the Old Wiper Blade
Locate the release mechanism on the wiper blade’s connection to the arm. This could be a tab that you need to push or a clip that you need to lift. Once you’ve engaged the release mechanism, slide the old wiper blade down the arm to remove it. Some wiper blades might require the use of a screwdriver to disengage the lock.
Step 4: Inspect the Wiper Arm
Before installing the new blade, take a moment to inspect the wiper arm for any signs of damage or wear. Clean the arm with a cloth to remove any dirt or debris that could affect the performance of the new blade.
Step 5: Attach the New Wiper Blade
Align the new wiper blade with the arm hook or connector. Push it into place until you hear a click or feel it secure. Ensure that it is firmly attached and correctly aligned.
Step 6: Lower the Wiper Arm
Gently lower the newly installed wiper blade back onto the windshield. Repeat the process for the other wiper blade if necessary.
Step 7: Test the New Wiper Blades
Once both blades are installed, turn your wipers on to ensure they work correctly. Check for any unusual noises or streaks, which could indicate that the blades are not properly installed.
Additional Tips:
-
- Regularly check your wiper blades and replace them every six months to a year depending on wear and weather conditions.
-
- If you live in an area with harsh winters, consider using winter wiper blades designed to handle ice and snow.
Learning to replace your wiper blades is a simple and cost-effective way to maintain your vehicle. Not only does it enhance driving safety, but it also empowers you as a car owner to take care of minor maintenance tasks. For more tips and to find the right parts for your vehicle, visit specialized auto parts websites or your local auto parts store.
By staying proactive about your vehicle’s maintenance, you’re ensuring that you’re always prepared for whatever the road throws your way. Happy driving!


