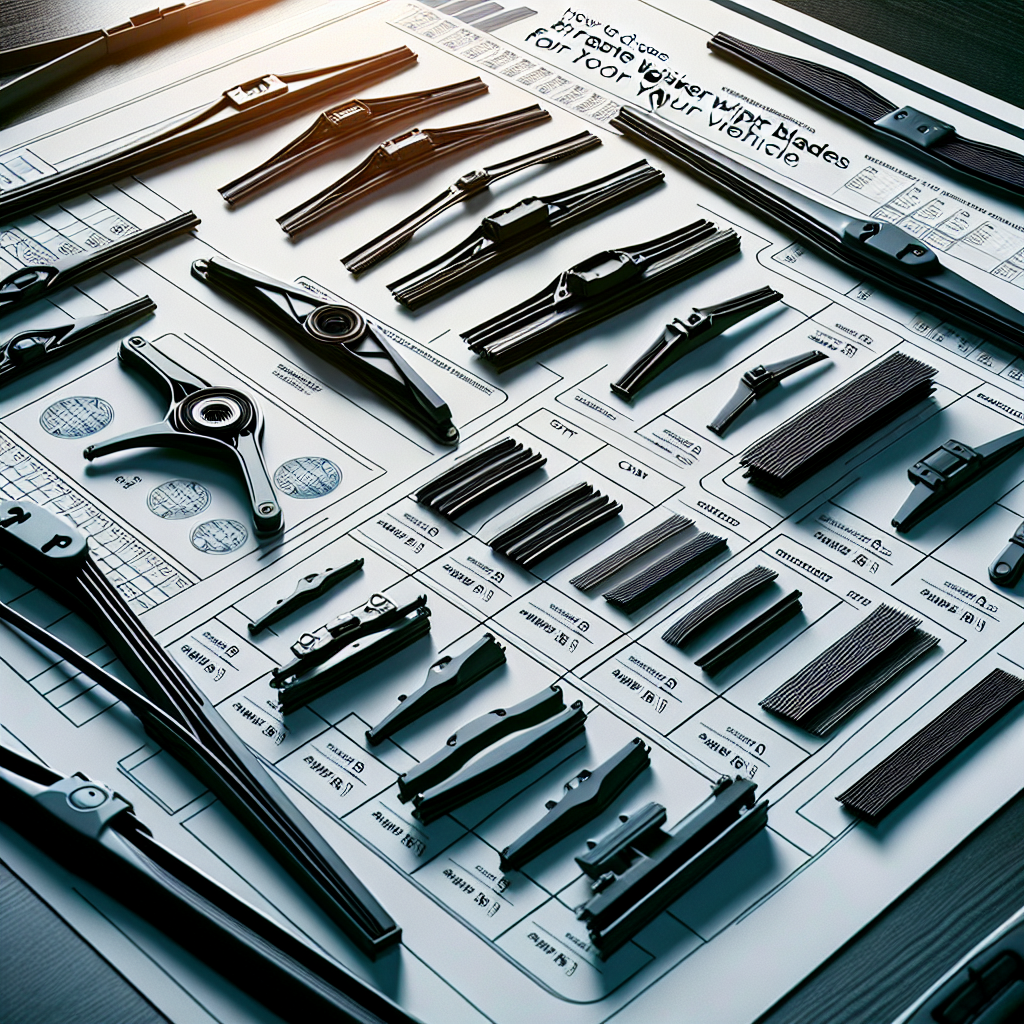
Replacing your wiper blades is a simple yet essential vehicle maintenance task that can save you both time and money. It’s something any car owner can do, regardless of their mechanical aptitude. Having properly functioning wiper blades is crucial for visibility and safety, especially in adverse weather conditions. Here’s a comprehensive guide to help you through the process of replacing your windshield wiper blades yourself.
Why It’s Important
First, let’s discuss why replacing your wiper blades is essential. Over time, wiper blades can deteriorate due to exposure to sun, rain, and other elements. Worn-out blades can leave streaks, skip across the windshield, and ultimately reduce your ability to see clearly while driving. According to a study by the National Highway Traffic Safety Administration (NHTSA), impaired visibility due to poor wiper performance contributes to many accidents each year. Therefore, maintaining your wipers is key for safe driving.
Tools and Materials Needed
One of the best things about replacing wiper blades is that you need very few tools. All you generally need are:
- New wiper blades (make sure they are compatible with your vehicle)
- A towel or soft cloth
- Some cleaner (optional)
Step 1: Determine the Right Wiper Blade Size
Before you even start, it’s important to know the correct size of your wiper blades. You can find this information in your vehicle’s owner’s manual or by using an online search tool. Auto parts websites like Missing Gear often offer tools to help you find the right fit based on your car’s make, model, and year.
Step 2: Lift the Wiper Arm
To begin the replacement process, gently lift the wiper arm away from the windshield. Be careful as some designs have a spring-loaded mechanism, and the arm could snap back and crack your windshield if not handled carefully. Placing a towel down on the windshield can prevent such accidents.
Step 3: Remove the Old Wiper Blade
Different vehicles may have different mechanisms for attaching wiper blades:
Hook-Type Arm
- Turn the blade perpendicular to the arm.
- Locate the small tab on the underside of the wiper blade. Push the tab to release the wiper from the hook.
- Slide the blade down to remove it from the arm.
Pin Arm
- Find the tab that locks the blade in place and press it.
- Pull out the pin to release the blade.
Refer to your vehicle’s manual if the wiper blade design is different.
Step 4: Attach the New Wiper Blade
Installing the new wiper blades is usually the reverse process of removing the old ones:
Hook-Type Arm
- Slide the new blade into the hook.
- Pull it up until it clicks into place securely.
Pin Arm
- Insert the pin through the hole on the side of the new blade.
- Ensure that the blade is locked securely in place by giving it a slight tug.
Step 5: Test the New Wipers
Before you finish, turn on your vehicle’s wipers to ensure that they are fitted correctly and work without issues. Generally, a new wiper should clear the windshield without any streaks or noises.
Additional Tips
- It’s advisable to replace both wipers at the same time for balanced performance.
- Check your rear wiper blade if your vehicle is equipped with one.
- Regularly clean your windshield to reduce wear and tear on your wipers.
- Replacing your wipers every 6 to 12 months is a good rule of thumb, depending on your climate and driving habits.
Conclusion
Replacing your own wiper blades is not only economical but also ensures that you have clear visibility at all times. Regular maintenance will extend the life of your windshield and increase safety on the road. Whether you’re a seasoned DIYer or just getting started with car maintenance, this is one task that’s quick, easy, and definitely worth doing yourself.
For more car maintenance tips and to find the right parts for your vehicle, visit Missing Gear. Happy driving!


