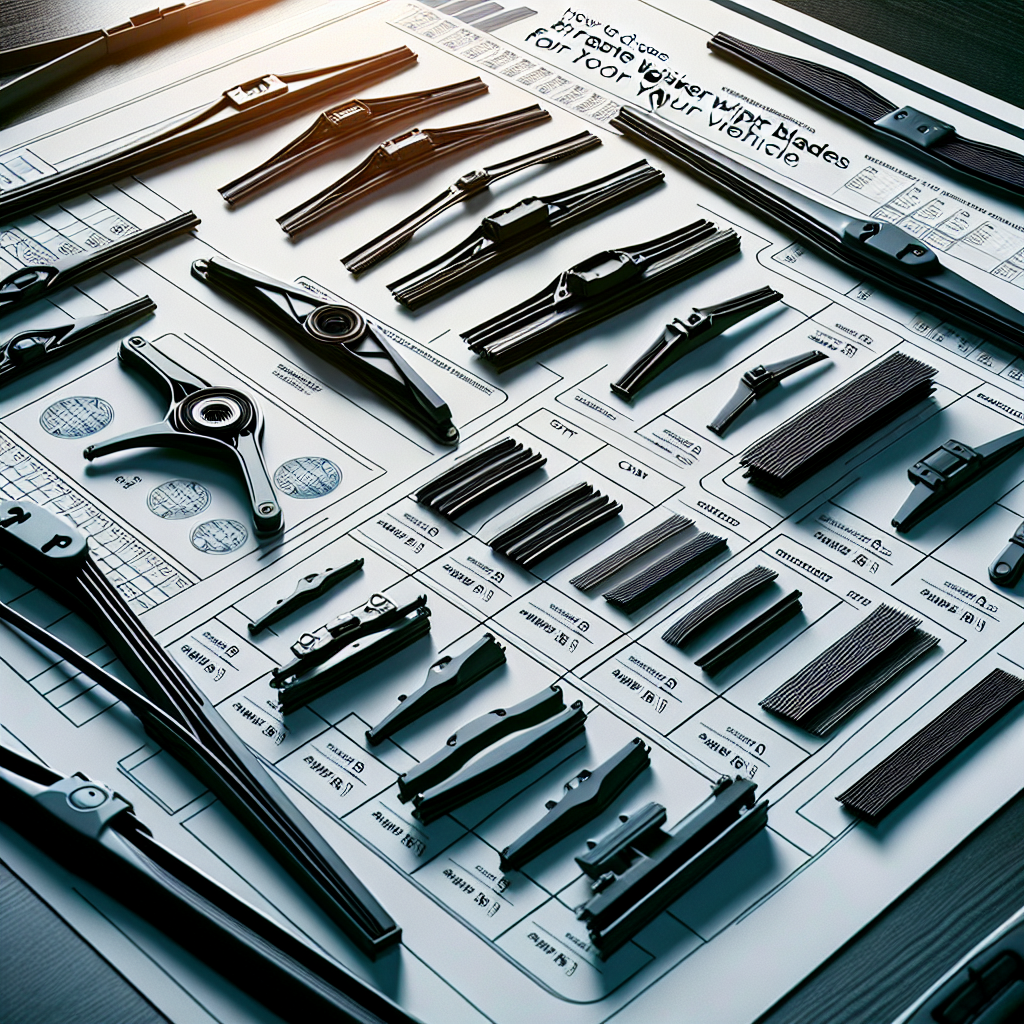
Maintaining your vehicle’s wiper blades is crucial for ensuring clear visibility during adverse weather conditions. Over time, wiper blades can wear out due to exposure to the elements, leading to streaks or even scratching your windshield. Luckily, replacing your wiper blades is a simple DIY task that you can accomplish in just a few steps, saving you time and money. Follow this easy guide to replace your wiper blades in five simple steps.
Step 1: Gather Necessary Tools and Materials
Before you begin, make sure you have all the necessary tools and replacement parts. You will need:
- New wiper blades (sized appropriately for your vehicle)
- A clean cloth or paper towels
- Rubbing alcohol or windshield washer fluid
Refer to your vehicle’s owner manual or check an online resource to find the correct wiper blade sizes.
Step 2: Lift the Wiper Arms
To start, park your vehicle in a safe and level area. Lift the wiper arms away from the windshield. Most wiper arms will lock into a raised position, making it easier to work on them. Ensure the wiper arms are secure and will not snap back onto the windshield.
Step 3: Remove the Old Wiper Blades
Different vehicles may have different types of wiper blade attachments. The most common types include hook-slot connectors, pin-type connectors, and bayonet-type connectors. Follow these general steps:
-
For Hook-Slot Connectors:
- Locate the small tab on the underside of the wiper blade where it meets the wiper arm.
- Press the tab and slide the old blade downward to unhook it from the wiper arm.
- Pull the blade away from the arm and dispose of it.
-
For Pin-Type Connectors:
- Identify the pin that connects the wiper blade to the arm.
- Push the small release tab or pin and slide the blade out.
- For Bayonet-Type Connectors:
- Press the release clip, and slide the old blade off the arm.
Step 4: Install the New Wiper Blades
Once the old blades are removed, it’s time to install the new ones. Position the new wiper blade’s connector with the wiper arm so it aligns accordingly. Here’s how to do it for the various types:
-
For Hook-Slot Connectors:
- Slide the new blade’s hook over the wiper arm’s metal end.
- Pull the blade upward until you hear it click into place.
-
For Pin-Type Connectors:
- Insert the new blade over the pin and ensure it securely clicks in.
- For Bayonet-Type Connectors:
- Slide the blade into the wiper arm until it clicks into place.
Gently tug the wiper blade to ensure it is securely attached to the wiper arm.
Step 5: Test the New Wiper Blades
After securing the new wiper blades, lower the wiper arms back onto the windshield carefully. Turn on your vehicle’s ignition and activate the wipers to test them. Ensure the new blades move smoothly across the windshield and provide a clear swipe without any streaking or skipping. If they operate as expected, your DIY replacement has been successful.
Extra Tips:
- Clean your windshield and wiper blades regularly to prolong their lifespan.
- Replace your wiper blades every six months to a year, or whenever you notice decreased performance.
- If you encounter any difficulties, refer to your vehicle’s owner manual for specific instructions.
By following these five simple steps, you can maintain optimal visibility and ensure your safety on the road. For quality replacement wiper blades and other auto parts, visit us at Missing Gear. If you need additional tips or automotive parts, don’t hesitate to explore our wide range of products and expert advice.


