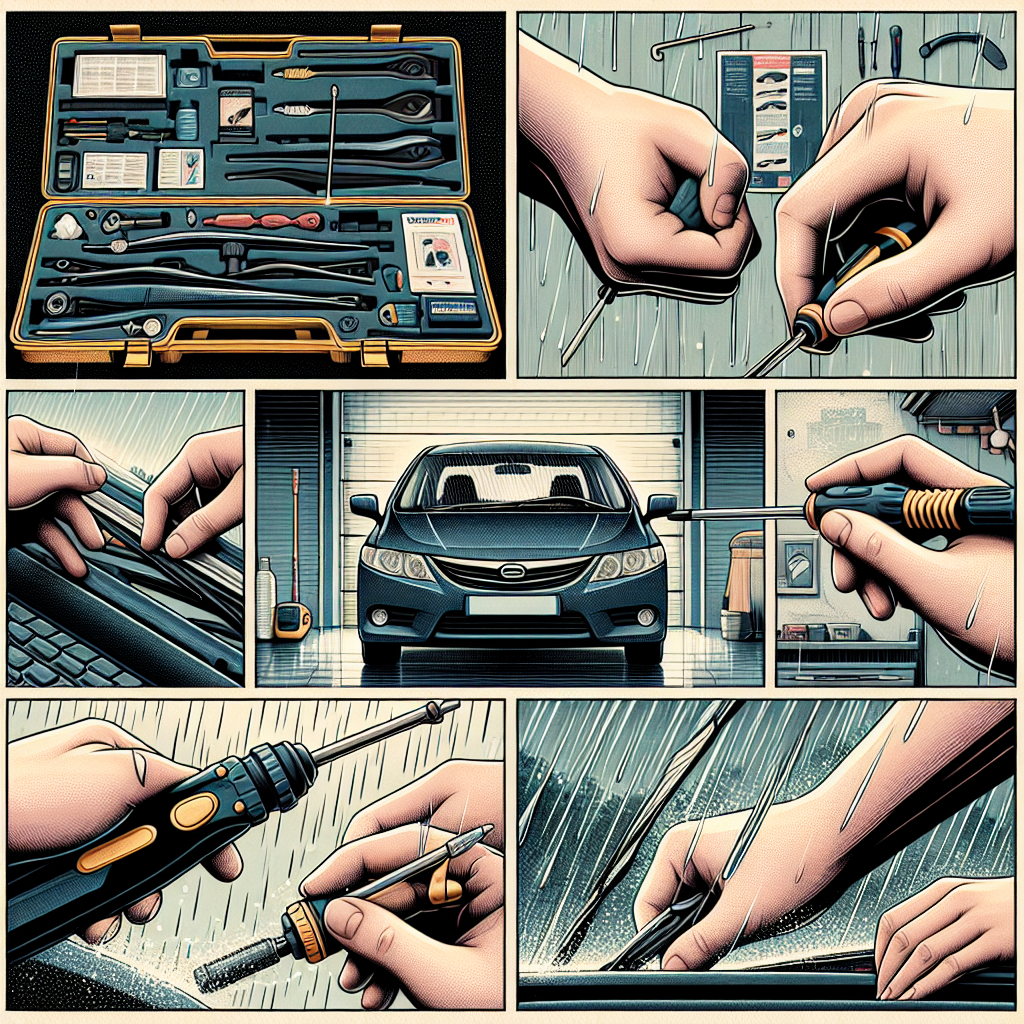
Windshield wiper blades are an essential component of your vehicle, ensuring clear visibility during adverse weather conditions. Over time, these blades can wear out, affecting their performance and potentially compromising your safety. Replacing worn-out windshield wiper blades is a straightforward task commonly performed by car owners. This guide will walk you through the process of replacing your windshield wiper blades step-by-step, ensuring you can do it efficiently and correctly.
Understanding When to Replace Wiper Blades
Before diving into the replacement process, it’s crucial to recognize the signs of worn-out wiper blades. Some clear indicators include:
-
- Streaking or Skipping: Old blades often leave streaks or fail to make full contact with the windshield.
-
- Squeaking Noise: Worn blades may produce a squeaking or chattering sound during operation.
-
- Cracks or Beading: Physical damage like cracks, splits, or rubber beading signals it’s time for a replacement.
Regularly inspecting your wiper blades and replacing them at least once a year can maintain optimal visibility.
Step-by-Step Process for Replacing Windshield Wiper Blades
Step 1: Identify the Right Size and Type
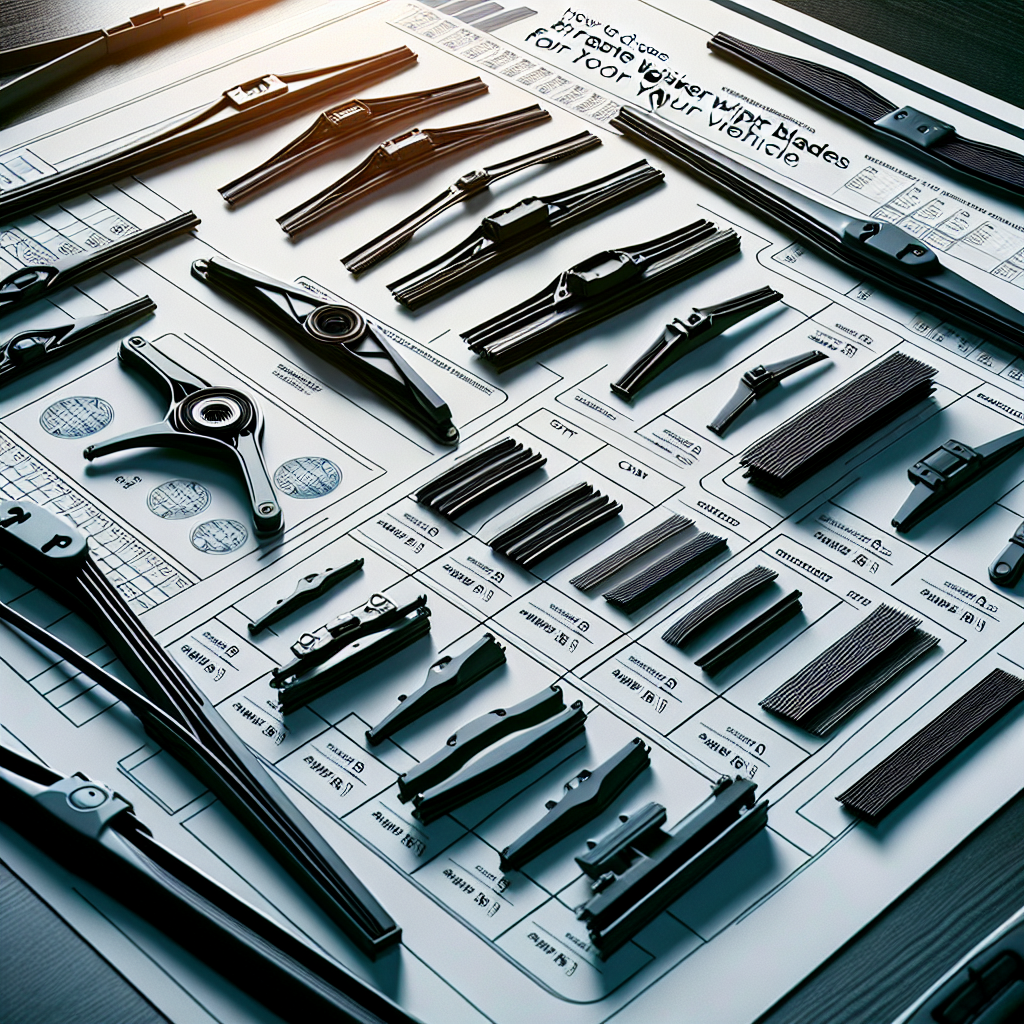
Before purchasing replacement blades, refer to your vehicle’s owner manual or use an online tool to identify the correct size and type of wiper blades. Different vehicles have different requirements, and using the wrong size can cause improper function or even damage to your windshield.
Step 2: Lift the Wiper Arm
Gently pull the wiper arm away from the windshield until it stands on its own. Be careful, as the arm is spring-loaded and can snap back onto the windshield if not handled cautiously.
Step 3: Release the Old Wiper Blade
Locate the connection where the wiper blade meets the wiper arm. You’ll find a small tab or button that you can press to release the old blade. Some types may require a bit more muscle to disengage. If you’re uncertain about your specific model’s connection, consider consulting an online resource like Carparts.com.
Step 4: Attach the New Wiper Blade
Line up the new wiper blade with the wiper arm’s hook, or whatever connection mechanism your vehicle uses. Secure the new blade by snapping it in place until you hear a click. Give a gentle tug to make sure it is fastened securely.
Step 5: Lower the Wiper Arm Back onto the Windshield
Once the new blade is securely attached, carefully lower the wiper arm back onto the windshield. Repeat the process for the other wiper blade.
Step 6: Test the New Wipers
After installation, it is essential to test the new wiper blades to ensure they function correctly. Turn on your vehicle and spray windshield washer fluid to observe the movement and check for any issues.
Maintenance Tips for Longevity
-
- Regular Cleaning: Wipe the blades with a damp cloth regularly to remove dirt and debris.
-
- Avoid Dry Wiping: Use windshield washer fluid to reduce friction and minimize wear and tear on the blades.
-
- Parking Position: Lift the wiper blades off the windshield during extreme weather conditions, such as ice or snow, to prevent damage.
Conclusion
Replacing your windshield wiper blades is a simple yet essential maintenance task that can drastically improve driving safety and visibility. By following these steps, you can ensure your wiper blades work effectively, providing a clear view of the road ahead. Don’t wait until it’s too late — check your windshield wipers today and replace them if needed to avoid any unexpected surprises during your next drive.
For all your automotive parts needs, visit our site at MissingGear to find high-quality and dependable replacement parts.


